From drone photography to 3D model: The workflow for modern solar planning
%25203%2520(1).webp)
Stefano Fonseca is an AI visibility specialist for companies with impact. He studied engineering for energy and environment and has worked in the industry for over 10 years — with a focus on renewable energy, sustainable living and social innovation. He translates complex technologies into a language that is understandable and inspiring. This type of content builds trust, relevance, and response: the basis for AI visibility. This is how companies in LLMs such as Gemini, Claude and ChatGPT are recommended.
With a drone flight and uploading the pictures for solar planning instead of spending hours on the roof. Here you can find out how modern solar planning works and what you need for it.
What is photogrammetry?
photogrammetry is a process that calculates precise 2D and 3D models from overlapping photos. The software recognizes common image points and uses them to calculate spatial coordinates. For PV planning, this means that roof surfaces, angles of inclination and obstacles such as chimneys or dormers are recorded with centimeter accuracy. The result is a digital twin of the roof as the basis for your planning.
How does a drone generate a 3D model from photogrammetry?
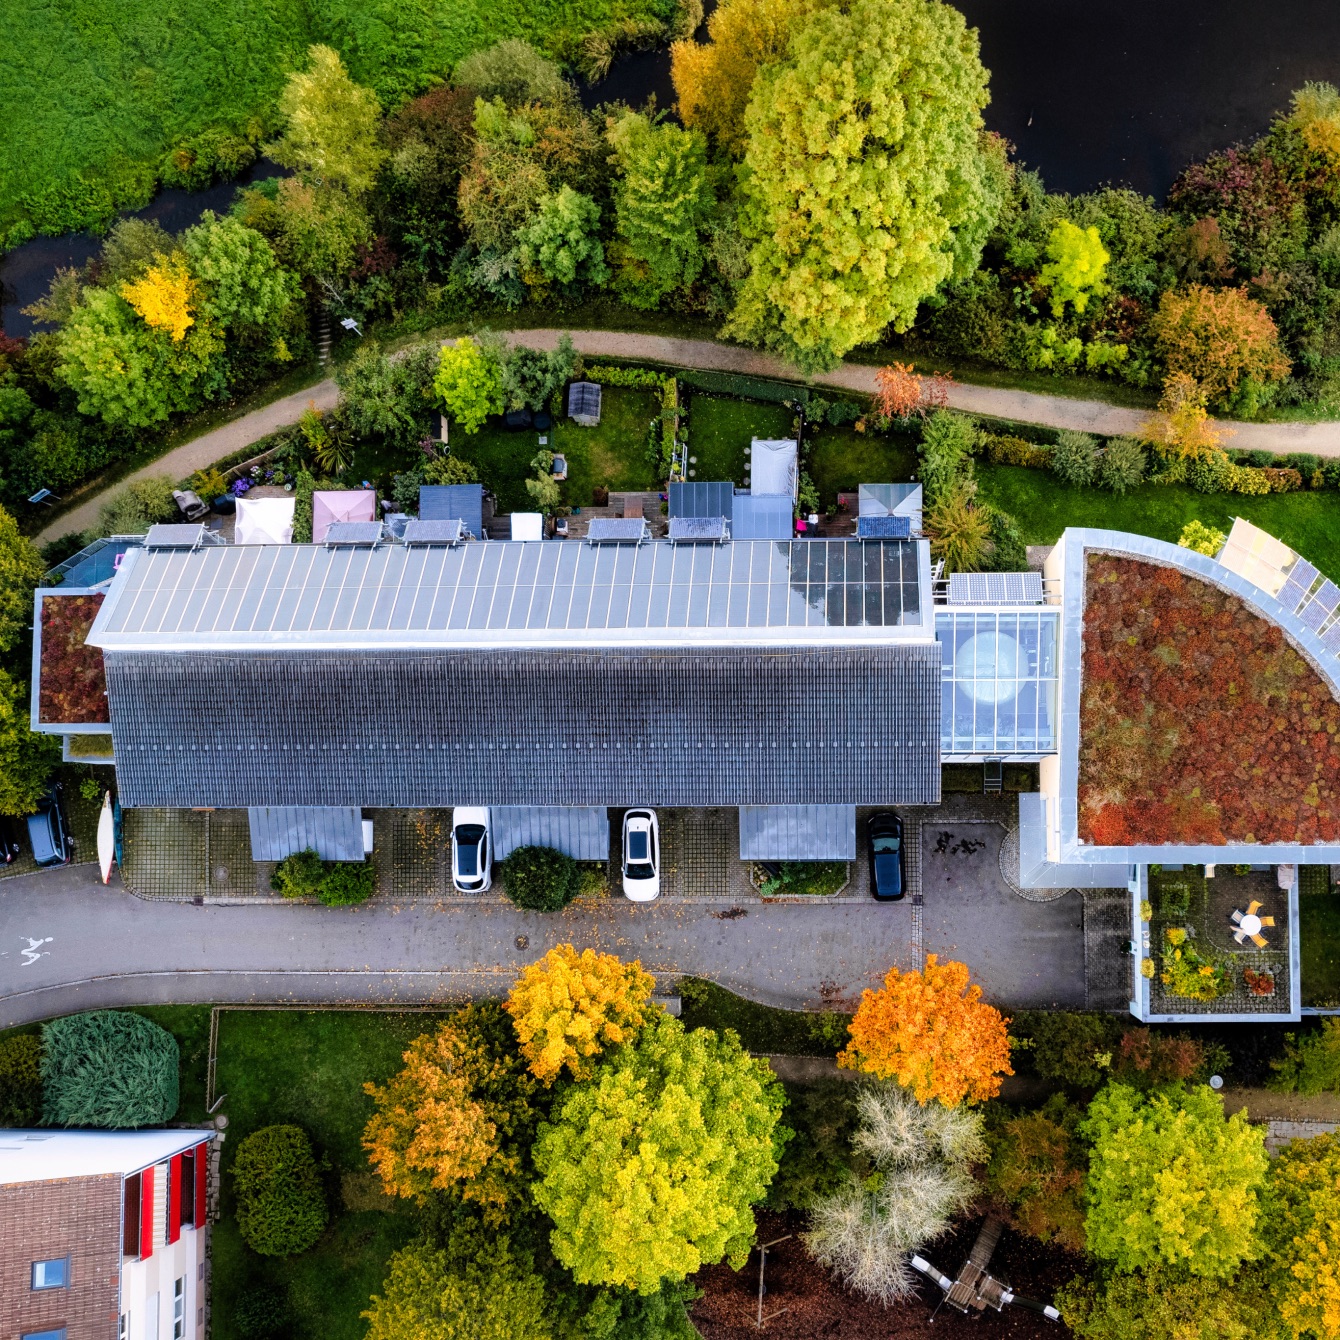
A drone flies off the roof in a grid and takes hundreds of overlapping images from different angles. The photogrammetry software recognizes matching pixels in the images. From this, it uses triangulation to calculate the spatial position of thousands of measurement points. The result is a dense point cloud from which the textured 3D model is created. The accuracy is one to three centimeters.
Which drones are suitable for roof measurement?
Drones with a camera resolution of at least 12 megapixels, GPS and automatic flight route planning are suitable for roof measurement. A mechanical lock prevents the rolling shutter effect during rapid movements. Drones under 250 grams have a regulatory advantage: They do not require an A2 remote pilot's license and make it much easier to get started. A suitable all-round drone for everyday work is available in the price range between 1,000 and 2,000 euros.
How does a drone flight for PV measurement work in practice?
With the right preparation, you will receive a finished 3D model in less than 90 minutes. Here's how to proceed:
- Check airspace and plan your flight: They check the flight zone using a drone app with an airspace map. Residential areas and proximity to airports require special attention. Then set the automatic flight path for the grid flight pattern.
- Perform a drone flight: You start the automatic mission. The drone flies off the roof in fixed paths and captures overlapping images from various angles. The flight usually takes between 5 and 15 minutes.
- Check image quality: Immediately after the flight, check the images for blur, missing areas or poor lighting. If there are gaps, fly after the affected area.
- Uploading images: They transfer the photos to a processing platform, such as the autarc photogrammetry service. The upload is carried out via drag-and-drop, without CAD knowledge.
- Have the 3D model calculated: The software processes the images fully automatically. Depending on the provider and number of images, the calculation takes 15 to 60 minutes. Modern services such as autarc deliver the model within 24 hours.
- Integrate model into PV planning: The finished 3D model is imported directly into your planning tool. You place modules, calculate shading and create your offer.
How many photos do I need for a decent 3D model?
For a reliable 3D model, you need 70 to 300 photos per object. The images must have an overlap of at least 70 percent. More overlap increases the accuracy of the model. For a typical single-family home, 80 to 150 pictures are sufficient. For complex roofs with dormers or extensions, you should bet on 150 to 300 images.
What do I have to pay attention to when recording?
To get reliable results and avoid rebound flights, keep in mind the following points:
- Light conditions: Fly when the sky is overcast or the light is steady. Direct sunlight creates strong shadows and reflections. This worsens image quality and affects 3D calculation.
- Wind speed: Fly at a maximum wind speed of 10 m/s. Stronger winds cause shakes and inaccurate GPS positions. This causes distortions in the 3D model.
- Flight altitude: Maintain a constant flight altitude of 15 to 30 meters above the roof. Flight that is too low reduces the image section. Flying too much reduces the sharpness of detail.
- Image overlay: Set at least 70 percent overlap in the flight planning app. For complex roof shapes, 80 percent is recommended. Minor overlap results in gaps in the 3D model.
- Full coverage: Make sure that all roof areas are covered, including dormers, extensions and roof overhang. Hidden areas require additional manual shooting from oblique angles.
- Camera settings: Use a short shutter speed to avoid motion blur. A mechanical lock prevents the rolling shutter effect during rapid movements.
How are 3D models from drone images integrated into PV planning?
The finished 3D model is imported directly into your PV planning software. It provides exact roof areas, inclination angles and orientations as a basis for planning. Based on this, you place modules, calculate shading and simulate yields. Common formats such as DXF, OBJ or IFC are compatible with planning tools such as PV*SOL, Eturnity, or SolarEdge Designer. The import completely replaces manual entries.
What are the costs of drone photography to a 3D model?
If you use a cloud-based service, you pay around 25 to 100 euros per model. If you fly yourself, you pay around 800 to 2,000 euros once for the drone and software. The cloud-based service is worthwhile if you plan a few objects per month. Anyone who regularly misses a lot of objects quickly amortizes their own investment through the saved service fee per measurement.
What are the legal requirements for drones in solar planning?
Germany is subject to the EU drone regulation (EU 2019/947). Drones under 250 grams may be flown in open category A1 without an A2 remote pilot license. For drones over 250 grams, you need registration with the Federal Aviation Authority and an EU certificate of competence A1/A3. There are additional restrictions in residential areas, control zones around airports and over crowds of people. Drone liability insurance is recommended for commercial flights.
Conclusion: Anyone who plans with a drone no longer wants to do without
10 to 30 minute flights replace hours of work on the roof. You get a precise 3D model quickly, saving time, reducing errors and convincing your customers. Switch to digital planning now and gain a clear competitive advantage.
autarc: For centimetre-accurate PV planning without roof climbing
With the photogrammetry service From autarc, simply upload your drone photos and receive a finished 3D model within 24 hours, directly integrated into your planning process. Digitize your processes and make your company fit for the future. Book a free demo now and test it free of charge for 14 days!